I’m a big proponent of cutting up your own local venison – the local in that phrase used to distinguish between a deer someone shoots near their home and a deer they might take in a different state, since moving whole deer carcasses across state lines has the potential to destroy deer hunting as we know it. (Here’s a column about all this that should scare the bejezzus out of you). If you’re a philosophical type, the butchering process serves as closure – it’s as integral a part of the process as loading your gun and walking into the darkness on opening morning. If you’re driven more by practicality than poetics, the act of cutting up your own meat saves you money and ensures the job is done to the highest possible standards.
As I’ve refined my techniques over the years, I’ve gotten better at using more of the deer. In the early days I took the four quarters (two shoulders, two hams), the backstraps, a neck roast, and the inner loins. The rest went to the coyotes. But I’ve learned that the shanks and ribs can be great with a little extra effort and a few cooking tricks. The bones can be boiled and the stock and loose meat turned into several meals worth of soup (though experts advise to keep the spinal cord out of the stock pot, especially if you live in a state with Chronic Wasting Disease). The next frontier was the offal – “eating your gut pile,” as one Field and Stream story proclaimed. A properly prepared liver can feed a large family. Throw in the heart and kidneys and you have at least three additional meals per animal.
Recipes for these off-parts are just a Google search away (start with Hunter, Angler, Gardner, Cook, which is a treasure trove of recipes; if you want a book, start with Buck, Buck, Moose, by Hank Shaw, the guy who runs that webpage. It’s the best game cookbook I’ve ever seen.) In this blog, I thought I’d discuss some techniques and lessons I’ve learned in my related experiments. Readers will hopefully chime in with their own tips, and the comment section below will make this story richer as the years go by.
Shanks
I think technically this word applies to just the forelegs, but I also use it to refer to the thin part of the shoulder. You could bone these parts out and grind the meat, but if you haven’t aged your deer, the meat will be tough and sinewy. I much prefer to keep the bone in and throw everything into a braising pot.
The first trick here is to measure the bottom of your braising pot and cut your shanks accordingly. On most deer the full leg shank will be slightly too long for a 12” pot, and there’s nothing more aggravating then gearing up to cook and realizing your meat’s too big.
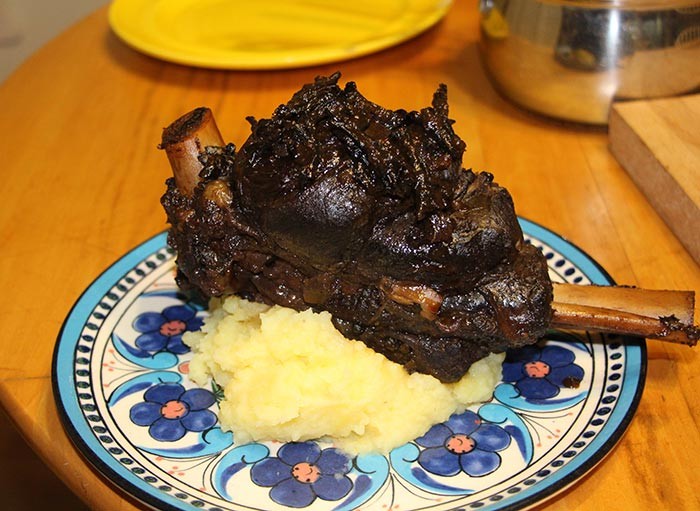
The braise itself is a relatively simple affair. Salt the shank, pat it dry, and brown it in a little bacon grease or lard or oil. Then take that off and add some uniformly chopped onion, carrot, and celery (the French call this trinity Mirepoix – it’s the foundation of pretty much every braise). As the onions sauté, they’ll help deglaze the pan – add a splash of wine if you need more help. Then add whatever other ingredients you want to flavor the dish. Italians would add garlic; Spaniards tomatoes; a Caribbean cook might add allspice and cinnamon; an Asian cook might add ginger, chilies, and scallions. I like to add woodsy accents to the braise – so Juniper berries, wild mushrooms, whatever herbs I managed to dry in the fall but especially rosemary and thyme. Then add liquid. Red wine and beef or venison stock are the traditions – two cups of wine plus two cups of stock will get you close. You need enough but not too much liquid, which is to say don’t drown the meat. It should cover about a quarter or a third of the shanks. When everything is ready to go, seal the lid of the braising pot with parchment paper or foil and then put in a 300-degree oven and cook for three hours or so. You want the meat to be falling – not fallen – off the bone when you’re done.
Ribs
The rib cage can seem intimidating, but the bones are very light and easy to cut. If you’ve never worked with them before, you’ll be surprised by how easily your bone saw goes through them. As the carcass hangs, I make one cut midway through the ribcage, then another at the connection with the spine. I then use my butcher knife to process into freezer-bag-friendly rectangles.
I’ve made and enjoyed venison ribs traditionally, which is to say bone-on, in the spirit of pork ribs. Old, long, lean, deer ribs will never be young, fat, succulent pork ribs, though, so you can’t expect to just cook them on a grill. You want to cook them with slow, moist, moderate heat – season, wrap in foil, add liquid type of technique. Once they’re cooked, you can add a glaze and finish them on the high heat of a grill, or under your broiler, just to give them a sweet crust. A glaze I especially like involves rosemary-infused maple syrup (just add rosemary sprigs to the syrup, heat to almost boil, and then let cool) and horseradish. I’m pretty sure I learned this in a Molly Stevens cookbook but I can’t find it to confirm.
I’ll often throw a few rib pieces on top of the braise pot while I braise shanks, and use the ribs for a later-in-the-week meal. Once they’ve been slow-cooked this way, I pull the meat from the bones and dice it. I use the rib meat in any recipe that calls for chopped meat – goulash, stroganoff, burritos, whatever.
Liver
The secret to organ meat is to get it on ice quickly – it doesn’t hold up particularly well to heat and age. We keep a small Styrofoam cooler in camp for this purpose.
The other secret is a good soak before you cook it. Cut the liver into inch-thick pieces, then soak them in a light brine (two tablespoons of kosher salt and two tablespoons maple syrup per quart of water should do the trick) for a few days. You can also use milk, which is what the old-timers did. Or both. Change the liquid at the end of each day. What you’re doing is drawing out the blood. Each time you change the water it’ll be pungent and a bit off-putting. But if you do this right, none of that smell or flavor transfers to the finished dish.
Once the liver has been prepped this way, fry it up with some bacon, onions, and scallions or chives to add a little green. And be brave and eat it medium rare.
Heart
Cooking has an element of fashion to it, and just like any fashion, things go in and out of style. If my grandfather ate his venison heart he likely stuffed it and baked it, which was the rage for a while. These days it’s more en vogue to grill it lightly and eat it pink. Hank Shaw chose a marinated, grilled heart for the cover image of his game cookbook, which tells you something about the aesthetically pleasing look of the finished meat.
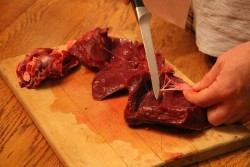
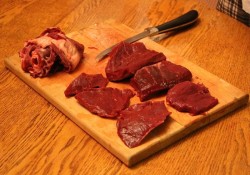
The first step to cooking a heart like a steak is to turn it into tiny steaks. Trim the visible fat, and then lop the top, messy part off. You’ll see the four chambers inside – use them as a guide and cut each chamber free until the meat lies flat. Trim the spider webby stuff that’s on the inside, and trim the outside in the same manner you would the silverskin on the backstrap. When done you’ll have four or six little steaks. Soak them in your favorite venison marinade, or invent one especially for this cut. (Couple glugs of olive oil, a glug of dark vinegar, some Worcestershire sauce, some salt and pepper will be a good base. After that add whatever herbs and flavors you’d like.) Soak for a day or two. Then grill it to medium rare just like you’d cook a regular venison steak. If you’ve never had heart before, you’ll be surprised by how tender it is – it’ll rival your inner loin. And it tastes more like steak than organ meat.
Kidneys
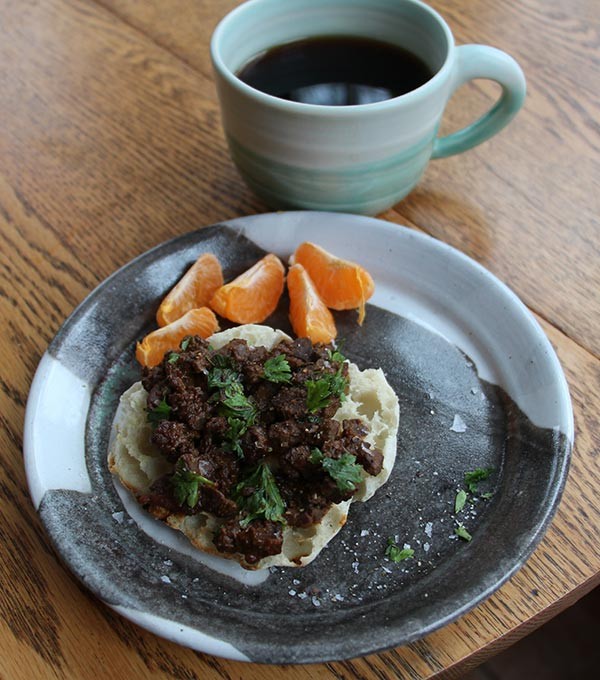
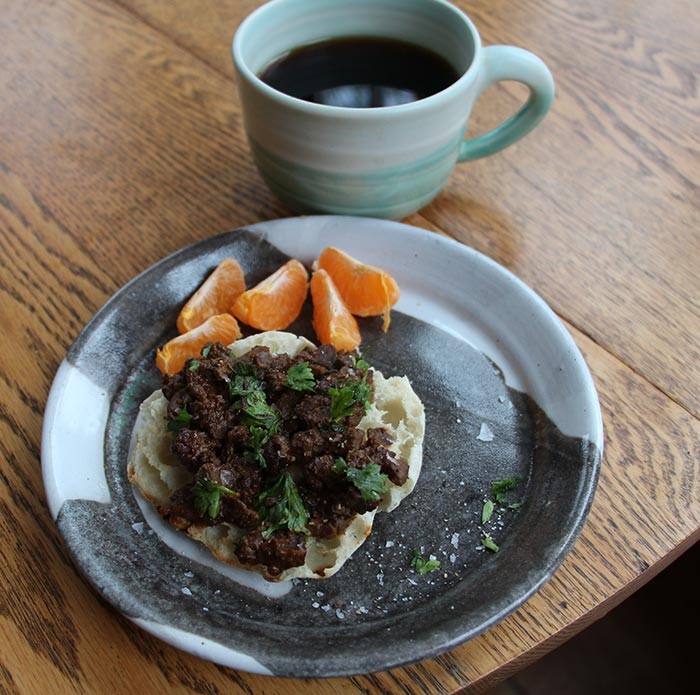
I should have photographed the kidneys as they appeared in the viscera, as they’re covered in fat/membrane so they don’t stand out. You’ll have to feel around for the two kidney-shaped lumps, then pop them out of the membrane. When you get home, split them in half lengthwise and remove the white gunk in the middle. Then soak them as you would a liver for a couple days, changing out the bloody milk or brine as need be. At this point you might follow an Irish or British recipe for lamb kidney – the Grand Isle being synonymous in my mind with this particular cut of meat. Here’s one someone cribbed from James Joyce’s Ulysses. If that sounds less than appealing, just Google search “deviled lamb kidneys” and follow the best-looking, serious, contemporary recipe that pops up. The breakfast in the accompanying photo was prepared by dicing the kidney, sauteeing it in butter, then adding a mustard/cayenne/Worcestershire/lemon juice/tomato paste mixture at the end. Slather onto an English muffin and dust with Maldon salt and parsley for the finish.
Caul Fat
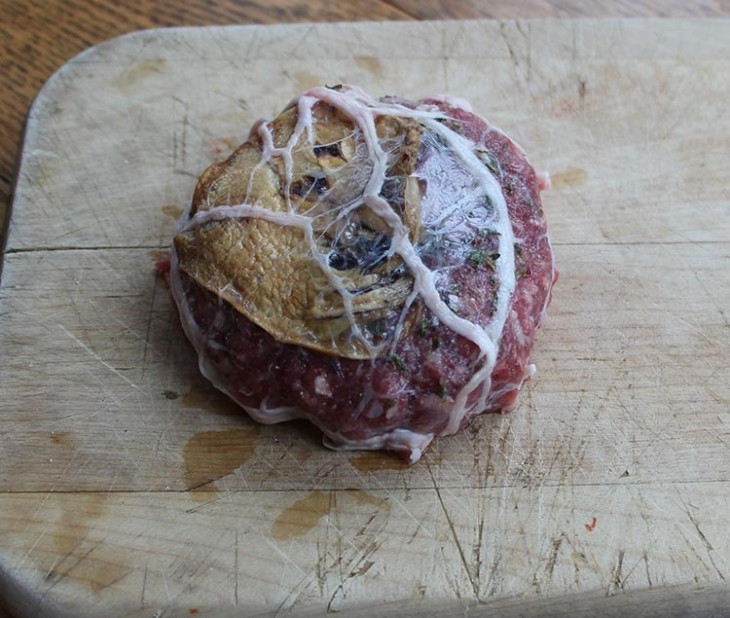
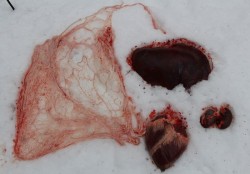
The caul fat, sometimes called lace fat, surrounds and insulates the deer’s stomach. In cooking, it insulates your meat, providing a nice moisture and fat seal that bastes the lean meat as it cooks. It also holds any goodies you want to add to the package. It also looks stunning, and adds a pleasant, crisp crunch to the finished entrée.
The historical western use for this item is in making crépinettes – a French term for small, flattened sausages wrapped in caul. It’s also a great touch on venison burgers. As you gut the deer, set the fat aside. When you get home, wash it, then cut it into meal-sized pieces. (There are either three or four burgers in a pound of ground meat, so put your fat up accordingly.) When you’re ready to cook, soak it in either water or brine to make it flexible. Then prepare your burgers however you’d like, and when you’re done, wrap them in caul fat and bake them. You’re not going to want to use a grill, since the open flame will likely ignite the caul fat.
We’re not quite to full use yet. I don’t have any thoughts on tongue or tripe because I haven’t gotten there yet in my experimentation; hopefully some of you have and can share your techniques on these parts, and anything else that I’m forgetting. But we’re getting close. The hide of this deer is going to get turned into rawhide and used for something – read this story to learn how to turn it into a drum. (The version of that story that appeared in the magazine had more pictures, so if you’re having a hard time visualizing the lacing, order a back copy from us.) In the end, pretty much all that’s going to the coyotes is the trim, the spinal cord, the feet, the head, and the boiled bones. The scavengers got the stomach and intestines and whatever else was left in the small gut pile out in the woods.
One final note: if this idea of using every bit of the deer that you can appeals to you, and you’re still using lead bullets, recognize that the two things are irreconcilable. Switch to copper ammo and have peace of mind. You’ll be able to trim your wound channels tight. You won’t have to worry about giving your baby brain damage. You’ll be doing right by the scavengers who share this meal with you. It’s really a no-brainer.







Discussion *