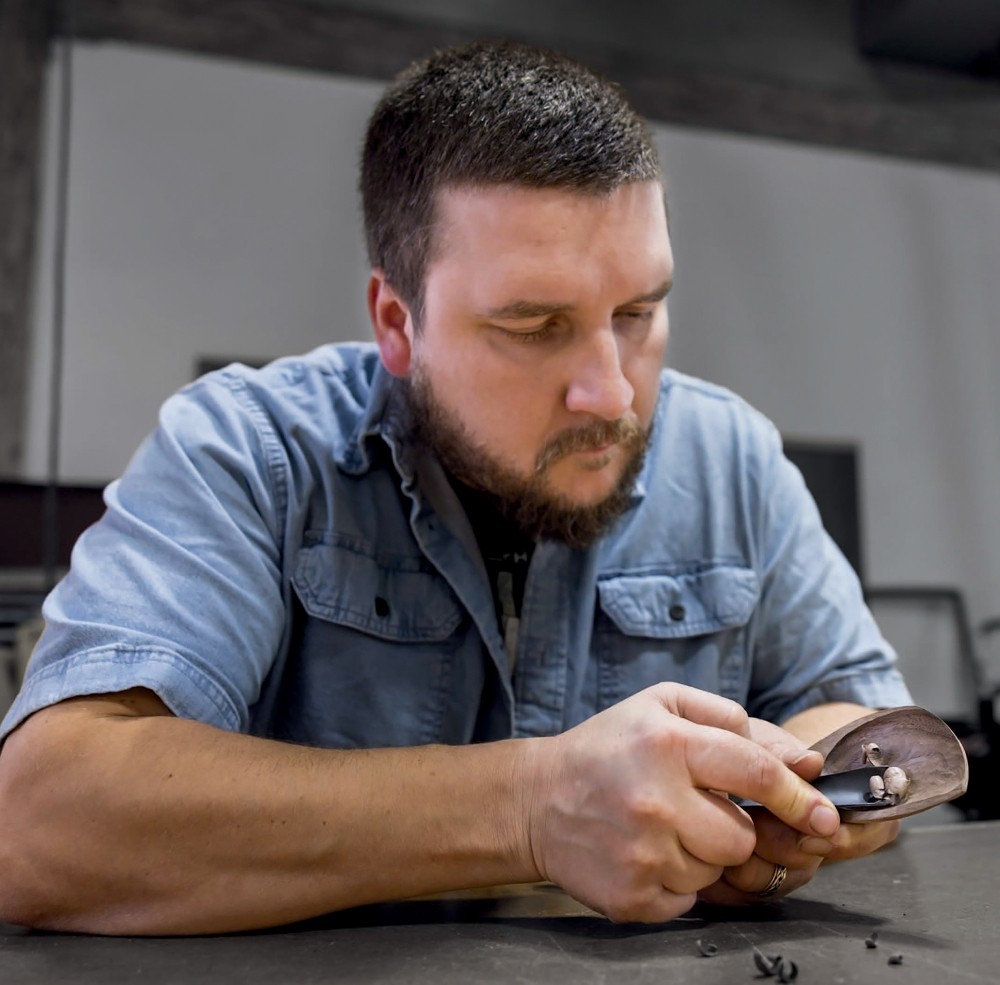
Anton Prikazchikov credits his interest in woodcarving to a documentary he saw many years ago, of a child using a knife to transform a branch into a detailed model of a fish. And to a moment of boredom on a dreary winter day in 2018, when he wanted something creative to do.
“I had a few pieces of wood lying around in my basement, just twigs that I like to collect sometimes,” said Prikazchikov. He decided to make something out of the wood and searched YouTube for a simple project he could replicate. Soon he discovered a tutorial by woodcarver Doug Linker.
“He does videos on how to carve miniature figurines,” Prikazchikov said. “Little gnome hats and wood spirits, things like that. And I thought maybe I could do that, too.”
Prikazchikov – the food service director for New Hampshire’s Mascoma Valley Regional High School – didn’t own a wood carving knife, so he looked through his supply of food prep tools for something he could adapt. He used an angle grinder to cut a kitchen paring knife to dimensions similar to the knife Linker used. Then he selected a piece of his basement wood, sat down in front of his computer screen, and spent the next few hours carefully imitating every one of Linker’s moves. In the end, he was surprised and pleased to create something recognizable. “A small gnome face,” he said. “It started from there.”
Soon, Prikazchikov began entering photos of his carvings in Instagram contests – and, sometimes, winning carving tools as prizes. He focused mostly on making spoons – a natural interest, he said, given his culinary background.
He was keen to use wood from native tree species, although he wasn’t initially sure how to find a good source for this wood. Through a friend, he discovered a farmer who collected discarded scraps from a local bowl-turning company, including veneer-quality cherry, walnut, and other native hardwoods. The farmer sold these for $40 a truckload.
“I would load up the car, bring the wood home and polish it a little, and then see the beauty of it,” Prikazchikov said. “I would make 10, 15 spoons out of a single piece they were throwing away.”
Prikazchikov has continued to experiment with new techniques, including working with woodshop equipment, but his focus remains on creating hand-carved pieces. In 2021, one of his spoons won first place in the spoon carving category for the New England Wood Carvers annual competition. He now teaches introductory woodcarving classes at AVA Gallery and Art Center in Lebanon, New Hampshire.
He offers this advice for beginning woodcarvers: “The wood will tell you what kind of shape it wants to be. Once you start carving into it, it might reveal some cracks and knots that will change your direction. So, what starts as a straight spoon handle might have to be a little bit crooked. This gives a spoon character. Don’t be discouraged.”
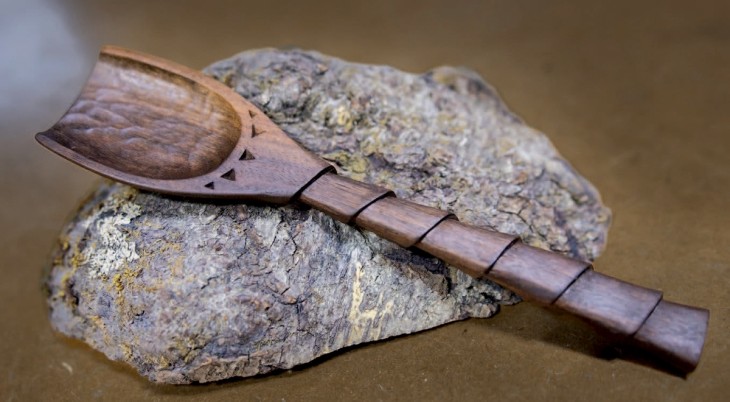
Here are Prikazchikov’s directions for carving a wooden spoon with a spiral “stop-cut” handle, a typical student project in his classes.
Materials
Wood. Basswood is the typical choice for new carvers because it’s one of the softest hardwoods, which means that it’s easy to shape.
Pencil. You will use this for drawing the spoon design on the wood.
Saw. Prikazchikov recommends a coping saw or a bandsaw.
Protective gloves (cut gloves). Leather work gloves may give you a better feel of the wood than mesh gloves, and a better grip.
Palm chisels with half-rounded blades. Different size chisels will help you make different size spoon bowls. (Some carvers prefer round-bladed spoon knives, but Prikazchikov has found that these don’t offer sufficient control.)
General purpose carving knife. Woodcarving catalogs often describe these as Sloyd knives or roughing knives.
Sandpaper. The higher the grit number, the finer the sanding. It’s best to have papers with four different grits. For example, 120, 400, 800, and either 2,000 or 3,000 grit paper.
Walnut oil or another food-safe oil. Do not use olive oil, as this can become rancid.
Food container or jar. This will serve as the oil “bath.”
Wood balm. Prikazchikov uses his own mixture, but you can purchase balm from hardware or craft stores.
Directions
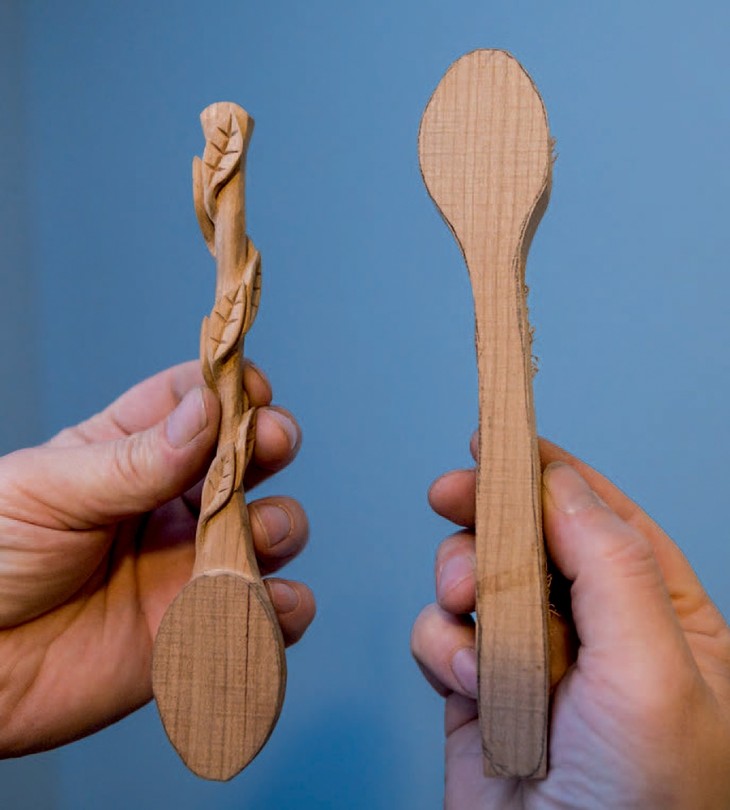
1. Pencil-trace the spoon design onto the block of wood, both top and side views. The length of the spoon should be along the wood grain.
2. Use the saw to cut the basic contour of the spoon. This creates the wood “blank” that you will shape by carving. The more precise a contour you can make in this step, the less time you will need to spend chipping away unneeded wood.
3. Wearing protective gloves, use the knife to cut excess wood from the blank surrounding your pencil drawing. Gradually shape the handle and the curve under the bowl. Leave the top of the bowl of the spoon untouched. As you work on the handle, do your best to keep it in a relatively conical shape.
4. Use chisels to carve out your bowl. Consider starting with a large chisel and shifting to a smaller one for more refined work. Put some thought into how deep you want the bowl to be, and how that will affect the spoon’s use.
5. Once you have the spoon in more-or-less final form, use the pencil to trace out a spiral pattern that winds up the handle.
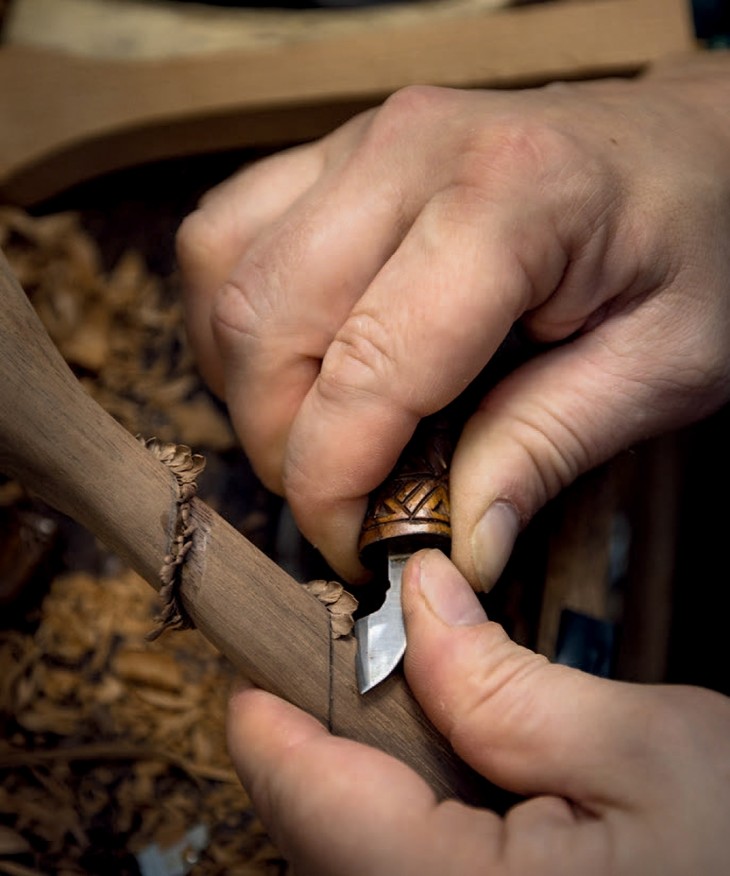
6. Use the knife to make an incision in the wood that follows the pencil line. This will be the “stop” for your cuts in the next step.
7. Starting at the bowl end of the handle, between ½ and 1 centimeter above the pencil line, cut downward (toward the bowl). The wood should chip off as your knife hits the stop cut. Repeat this process as you work down the handle, following the spiraling line. This will create a groove that winds up the handle under the pencil line.
8. Once you have the fully formed spoon, sand the wood. Start with a low-grit paper and work up to 2,000 or 3,000 grit for a final smoothing. Occasionally wetting the spoon will help you to see rough spots. Be mindful not to over-sand the top edge of the stop-cut groove if you want to have a sharper-looking effect in the end.
9. When you’re satisfied with the spoon’s smoothness, it’s ready for an oil coating, which will prevent the spoon from drying out and will bring out natural color variations in the wood. Immerse your spoon in an oil bath for up to two days. (Note: you can reuse the oil for other spoons; no need to discard it.)
10. Finally, use a soft cloth to apply the wood balm as a protection against stains and from drying out. The balm will also help to bring out the wood’s luster.


