To catch those of you who didn’t read the first blog post in this series up, our 20-year-old log cabin is rotting and full of carpenter ants. Rather than fix it, we’re cutting our losses and building a new one. None of the people working on the camp are builders (as you might guess from the fact that we need to rebuild the last one after only 20 years), so what you’re about to read is not a “how-to” piece in any official sense. In fact, a lot of it is how-not-to, some intentionally, some, perhaps, unintentionally.
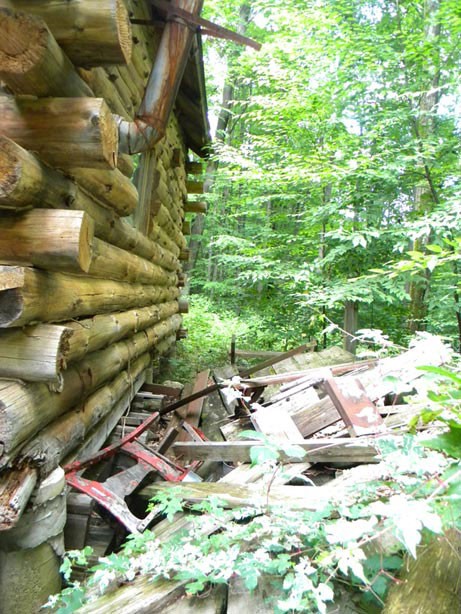
Anyway, our first step was to try to identify what we did wrong last time and fix it. If you look at Picture 1 in the photo gallery below, you’ll see the east wall of our current camp. As many of you will notice immediately, the roof overhang is too small, so the building didn’t shed water efficiently. The ruins of a deck you see there didn’t help matters any either, as snow just sat up against the building all winter. The fact that the canopy is closed enough that it doesn’t provide adequate sun to the building is also an issue. And the fact that the log faces are rough and wet and knotty and barky made staining hard, which led to deterioration. All of those oversights led to moisture problems, which led to rotten sills and carpenter ants. Another thing we came to see as a problem is the fact that the logs have no space in between them – they’re just stacked on each other. When you don’t leave a gap between logs, what you’re really doing is leaving 1,000 tiny gaps between logs that are hard to chink. And yes, the single-wall smoke pipe is both a fire hazard and a creosote magnet, and the variegated porcelain vine in the foreground is a potential exotic invasive and should be killed, but we’re sticking to building faux pas.
So with this new camp, step one was to saw all four sides of the log to give us smooth, easy to stain sides (Picture 2). We experimented with roughing up the finished sides with an adze, but we’re paranoid enough about moisture that we shelved the idea. Step two was to properly sticker and dry out the timbers over the winter. Step three was to get all the red rot cut out of the logs – I think we’ve been doing alright with this.
We decided to assemble the camp in my front yard, where there’s easy access to power and we can get equipment in and out easily. The plan is to stack ten courses of logs this summer. Then, next spring, we’ll number each log, take the whole thing down, haul the pieces up in the woods, call up our friends, and have a cabin raising. So, step four was to level the sight. We scrounged a bunch of nice concrete blocks from a demo job and configured and scuffed them down to level. I’m a little worried about how the cabin will make it through the coming winter without a permanent foundation, but we’ll cross this bridge when we get there.
Once the makeshift foundation was in place, we started stacking. This time around, we decided to leave half-inch gaps between logs and dovetail our corners. We did a quick Google search and this site popped up. We sent Fred Beal $25 and he sent us plans for two dovetail jigs and the right math to make them accommodate our log dimensions.
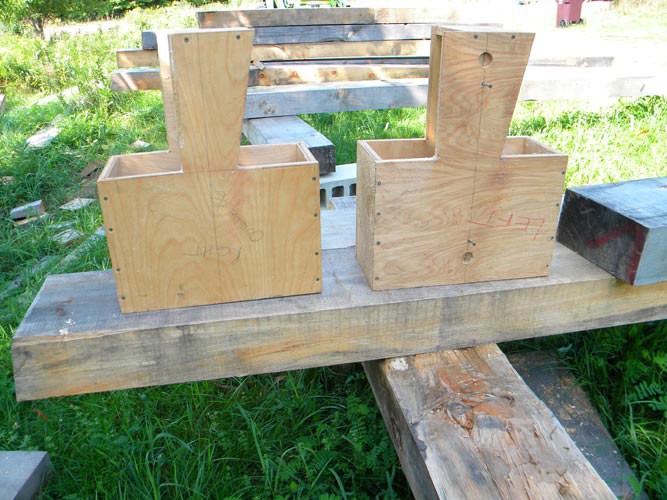
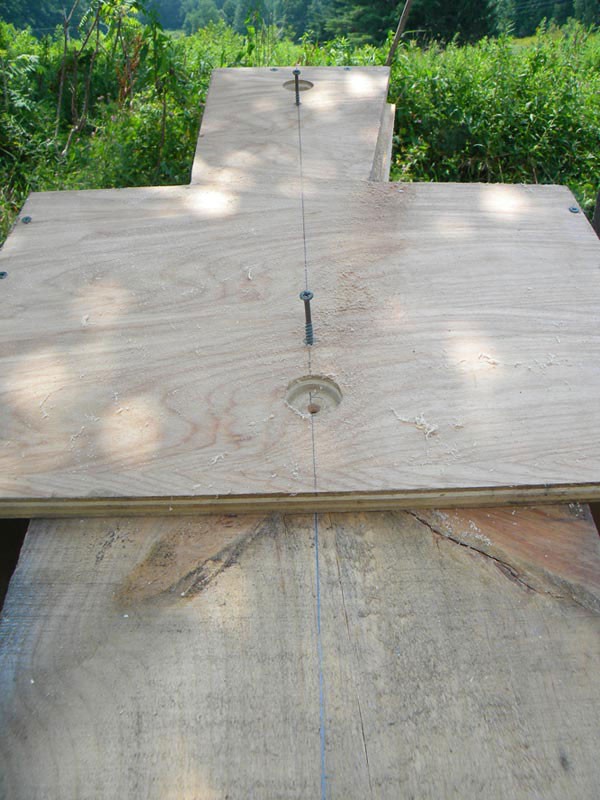
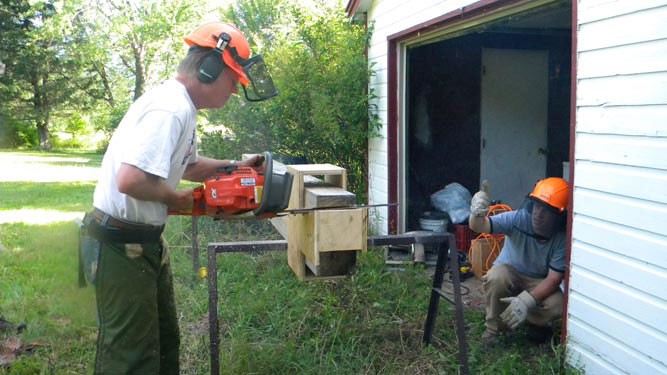
Picture 3, below, shows what the finished jigs look like. You need two – a left and a right. A practiced builder would find them simple to make. Someone unpracticed might need to make a few mistakes before they nailed the angles, as we did. To use the jig, you run a chalk line down the center of the log. The jig slides onto the end, and gets centered and screwed down (Picture 4). You drill a couple holes in your chainsaw bar and attach little wooden guides that prevent your cut from going too far, then slide the saw along the jig to make your cut. (Picture 5).
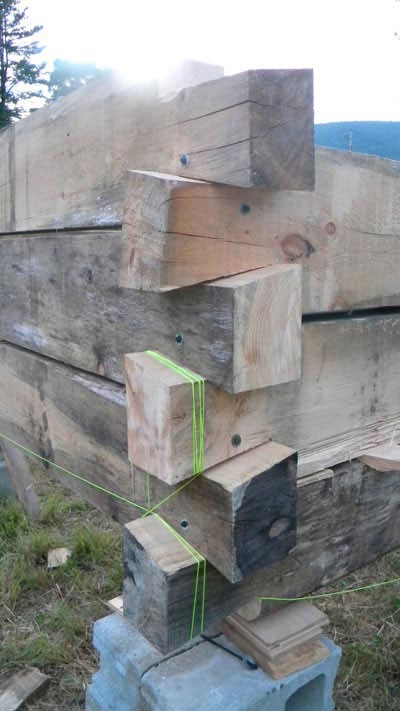
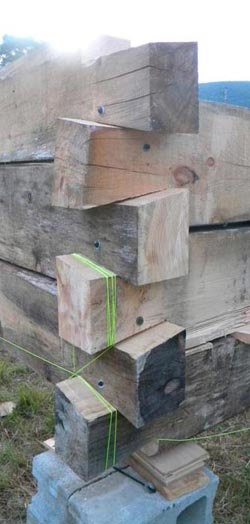
In all, it’s worked pretty well. As you can see by the gaps in Picture 6, there have been a few issues – some caused by operator error, some by the jig going out of plumb. But in all, we’re pleased. It’s going to be a deer camp, after all.
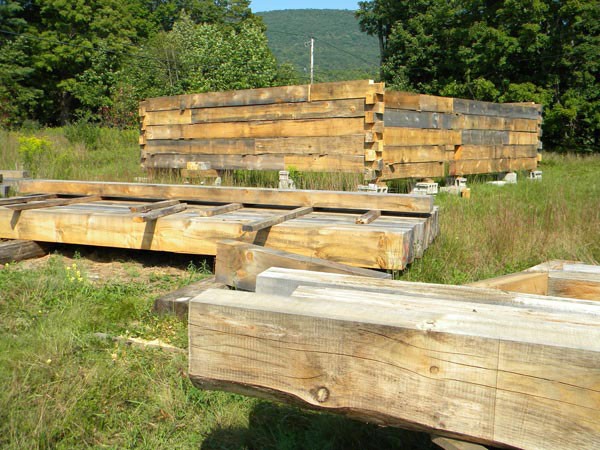
Picture 7 shows where we are to date. Five courses up – halfway there – and we’re ready to build scaffolding. We’ll pick up the next installment there. Thanks to Arlo and Brenda and Bill for sharing their own cabin building stories last time around.