The first time I saw cordwood construction was in high school when I shadowed a consulting forester for career day. His home office was made of cordwood and provided me with my first forestry lesson. He explained that the entire house was made from butt trimmings left behind on log landings. The notion that you could build a solid and beautiful structure using the byproducts of forestry intrigued me and contributed to my view of forests as ecosystems of opportunity.
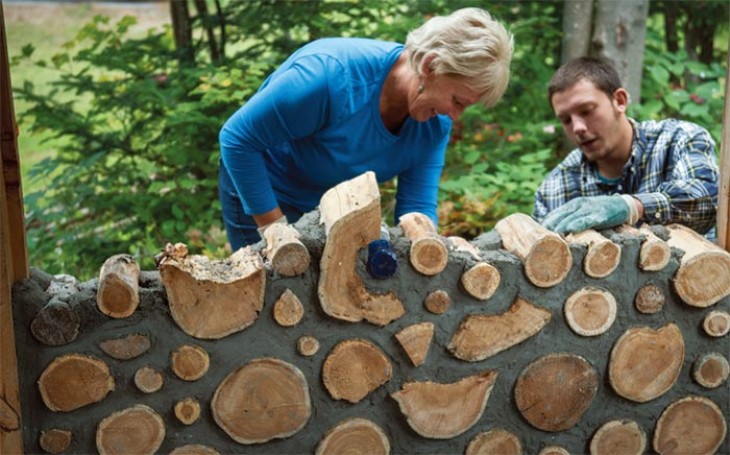
The Adirondack Rural Skills and Homesteading Festival at Paul Smith’s College includes student-run workshops on cordwood construction. The cordwood project illustrated here was part of an addition to an existing sugarhouse at the Paul Smith’s Visitor Interpretive Center.
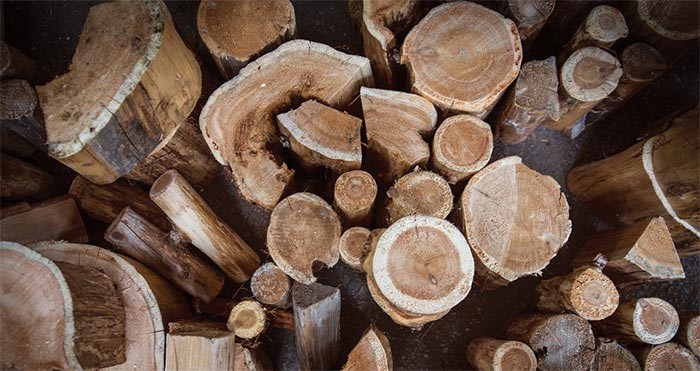
Well-seasoned cedar is the preferred wood for cordwood construction; it is naturally rot-resistant and expands and contracts less than wood from some other species. Cordwood walls are generally between 8 and 16 inches thick, depending on insulation needs. You can use split pieces or rounds, just be aware that unsplit wood takes longer to dry.
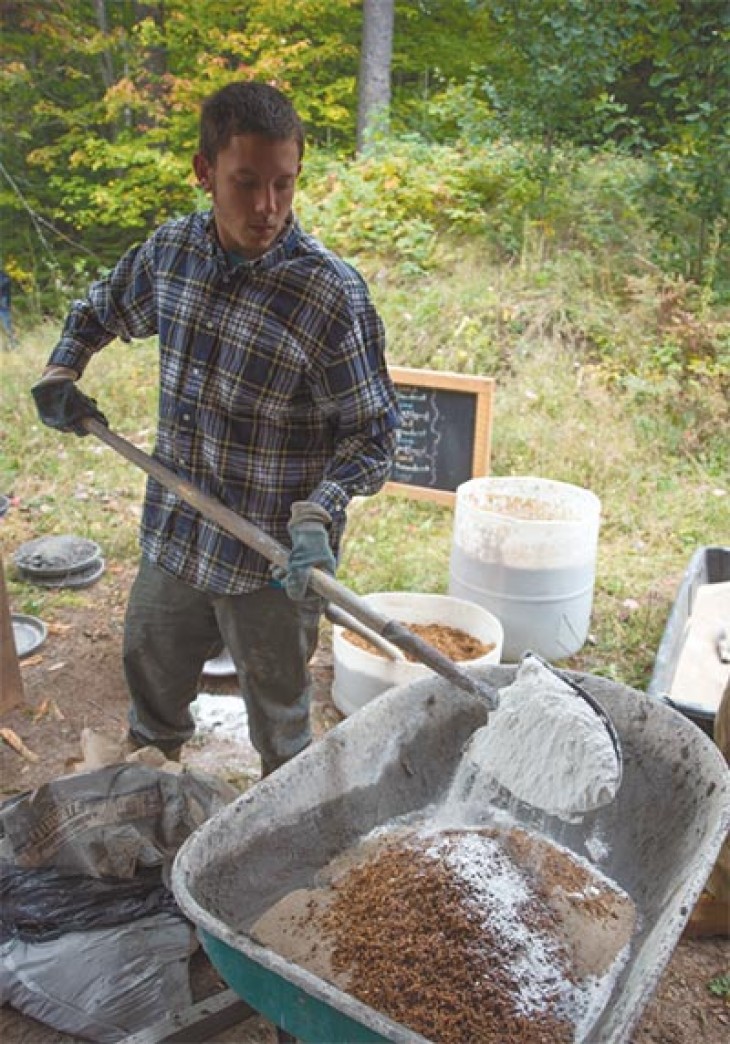
Once your wood has seasoned for at least a year and you’ve laid a solid foundation above grade, it’s time to mix up the mortar. Most cordwood builders have their own recipe, but this one is most common: nine parts sand, three parts sawdust, three parts builder’s lime, two parts Portland cement. Mix to the consistency of thick mud.
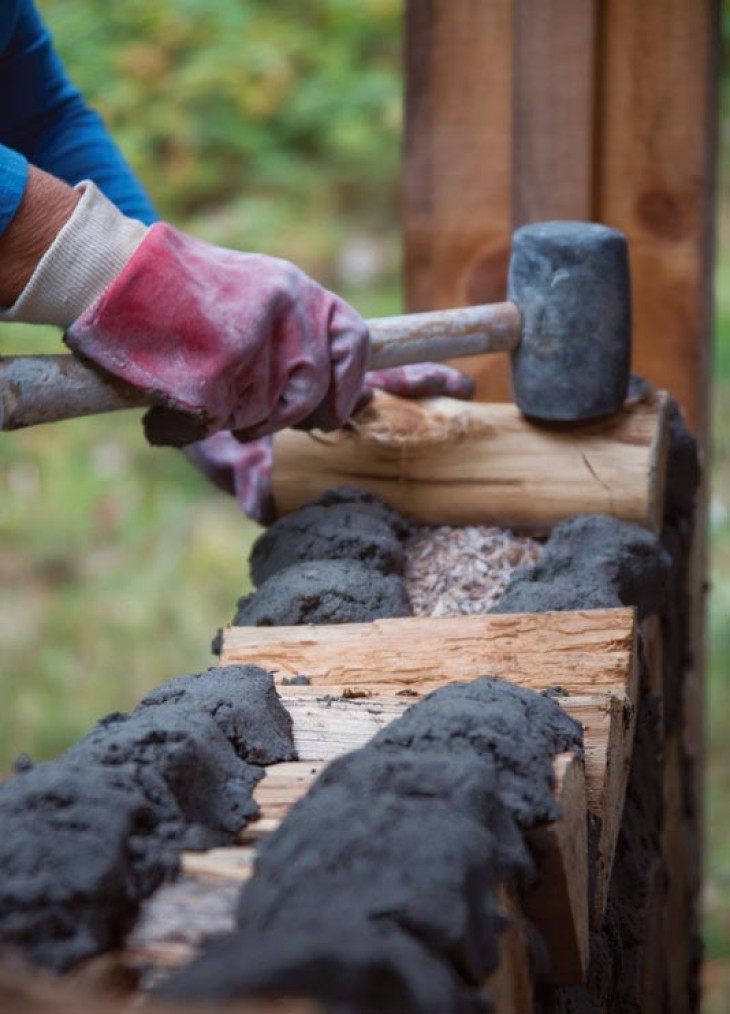
Begin with a layer of mortar about two inches thick for the foundation. Bed the logs with a mallet, making sure that the wall doesn’t bow in or out, and make sure none of the logs are touching. Use a trowel to pack the mortar on each side, leaving a gap in the center that’s equal to one-third of the wall’s thickness. This space is loosely packed with an insulating sawdust-and-lime mixture (the lime deters insects).
Before the mortar dries, you’ll want to smooth or “point” both sides of the wall. The goal of pointing is to compress and flatten out the surface of the mortar. An old butter knife (bent slightly) works well. Be sure that the areas around doors and frames are tightly chinked with mortar.
Some cordwood builders also like to include glass bottles in the wall for decoration. Use a tile saw to cut the bases off two bottles and tape them together. They are laid in the wall just like cordwood.
It can take up to three weeks for the mortar to completely dry. It’s best if it dries slowly; you can control the rate by misting the wall daily with water.


Discussion *