
Tips & Tricks for Hanging an Axe, Part 2
In the Spring 2022 issue, we tackled the task of removing a broken axe handle from the eye of an axe or maul. Now we’ll begin the process of hanging (or hafting) the axe.
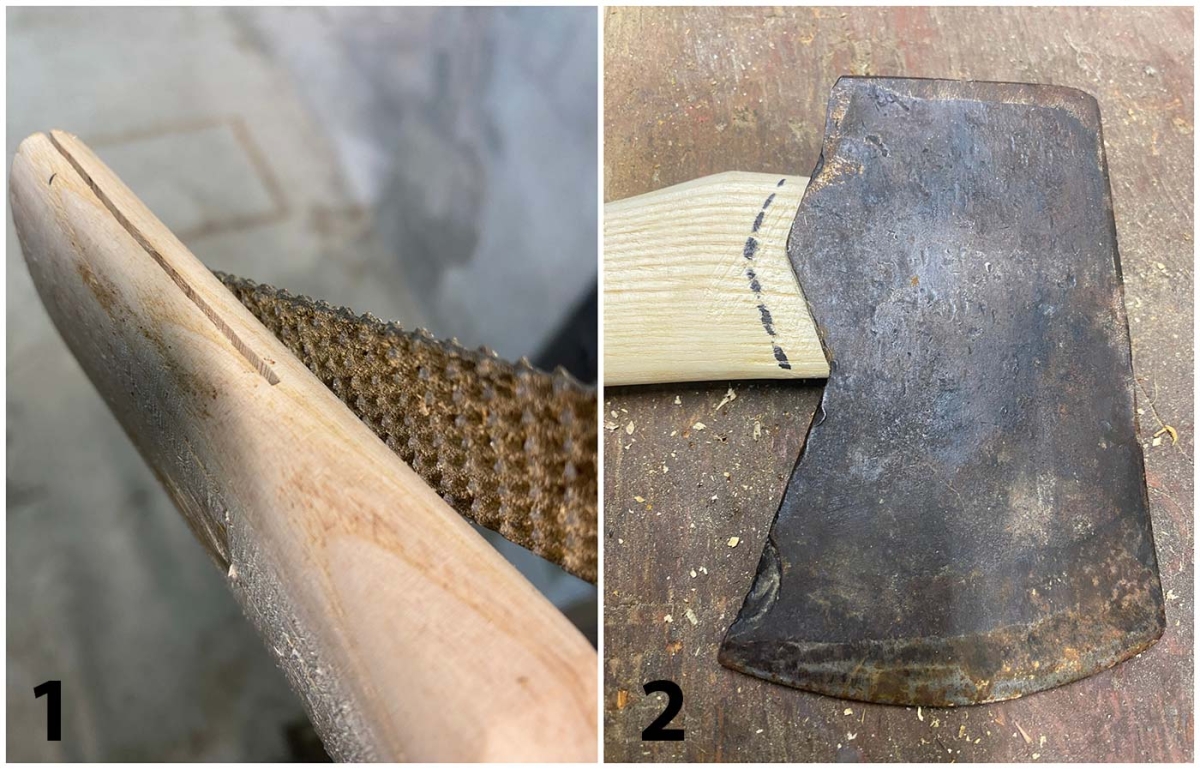
1. Fit the eye. The eye of the handle should be filed with a rasp until the axe head fits on the shoulder of the handle; the fit may have to be fine-tuned to get the handle to hang perfectly straight. Check for trueness by aligning your eye with the axe head and looking down the handle.

2. Mark and cut. The head location should be marked on the handle with a pencil. The wedge slit can be extended with a thin-bladed handsaw, if necessary; it should extend to within ½ inch of the bottom of the axe head. Any excess handle above the axe head should be cut off.
3. Drive the head. With the axe handle fitted into the head, a rubber or wooden mallet is used to pound the doe’s foot. This drives the head onto the handle.
4. Drive the wedge. When the handle of the axe hangs true, the wooden wedge is driven in with a mallet. The top of the seated wedge should be sawed off with a coping saw.
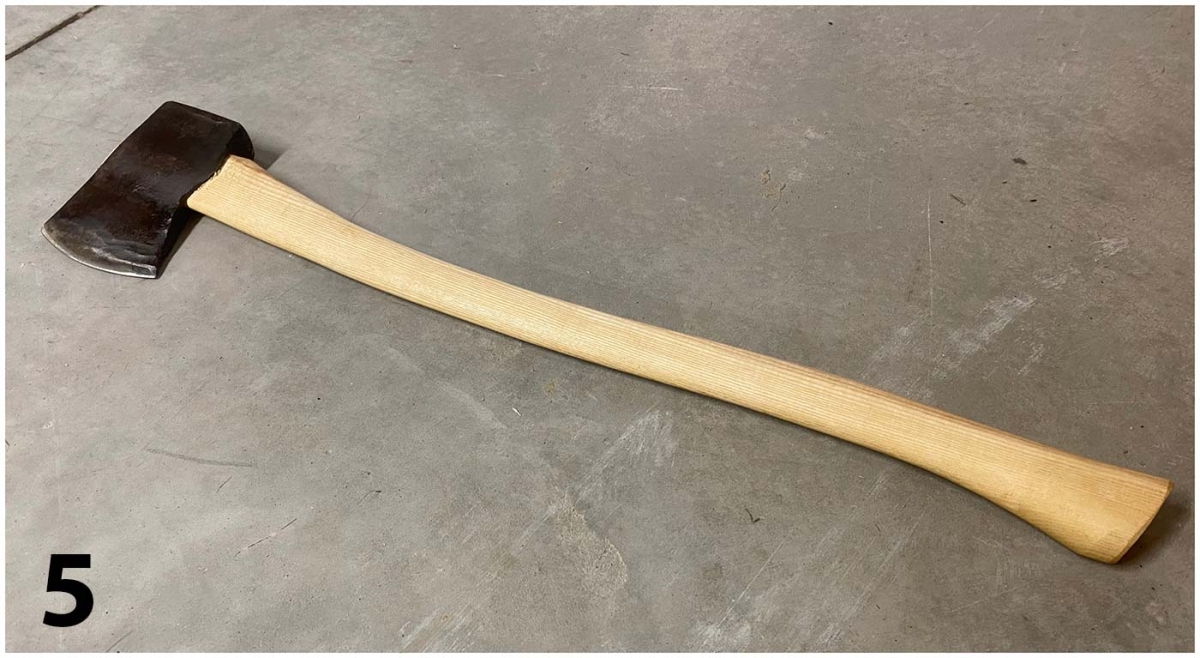
5. A Coat of oil. A coat of linseed oil will help keep an untreated handle from becoming brittle or cracked. If the new handle is finished, medium-grit sandpaper can be used to remove the varnish so that the wood can be treated with linseed oil. (Varnish can make for a dangerously slick axe handle in wet conditions.)
In addition to periodically treating your handle with linseed oil, you might find that if your axe is stored in a dry place the head loosens at the handle. Soaking the axe in a bucket of antifreeze will swell the handle without rusting the head. Finally, please don’t lean your axe in the corner of the shed for extended periods of time as the handle will develop a crook. Instead, hang the axe, lay it flat, or use an axe rack. Don’t have an axe rack? Stay tuned for the next “Tricks of the Trade” column!