

Brainstorm is a style of live-edge clapboards that vary from 10 to 14 inches in width and offer a classic, rustic look. Lore suggests that brainstorm siding originated with an Adirondack sawyer who was milling clapboards and had a “brainstorm” of an idea to save time and to reduce wood waste. By only having to mill three sides of the log, his process was significantly faster. Additionally, by not trimming the final edge, he eliminated waste, gained more coverage, and created a rustic aesthetic that blended into the forest.
Milling brainstorm siding can be very rewarding, especially because the clapboards pile up so quickly. I was able to mill all the siding for a 30-foot-by-50-foot garage in a single weekend, which resulted in savings that covered most of the cost of the portable sawmill. While brainstorm siding can be cut with a bevel by using a siding attachment, I opted for standard 5/8-inch-thick flat-sawn brainstorm siding.
While white pine is the most common choice for brainstorm siding, cedar, spruce, hemlock, and Scotch pine are also used. Scotch pine is notorious for its curving form and creates a wavy and whimsical look. However, it’s not a lot of fun to mill or turn because of its shape and many irregularities.
With siding it’s preferable to minimize the number of seams by milling longer lengths. If your logs are of good form (minimal taper) you can mill 16-foot siding. Begin by slabbing the log. In many cases, I take one slab cut followed by a 1-inch cut that later gets edged as a byproduct of the process. This additional cut is used to establish the minimum width of the siding, which for my project was 10 inches (see image 1).

Rotate the log 90 degrees and take another slab cut that meets the flat of your first cut. This will become the top clean edge of your brainstorm siding (see image 2).
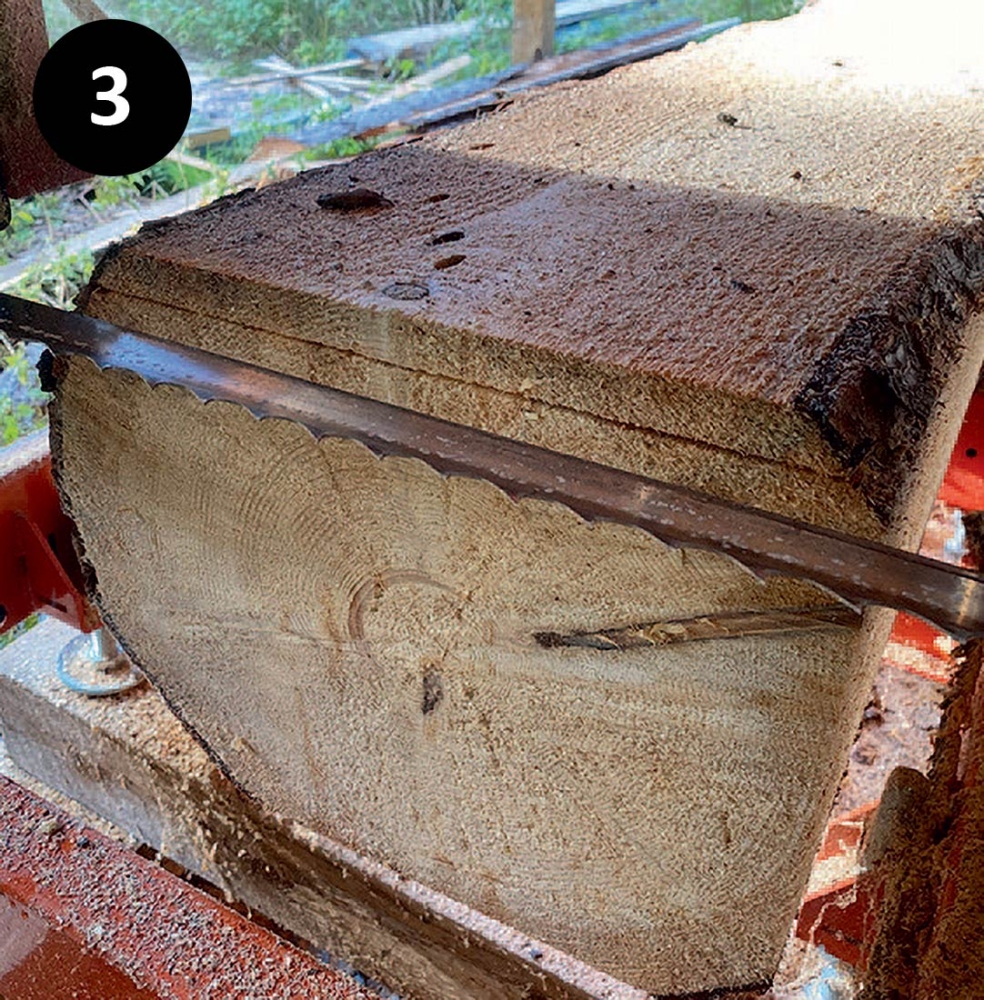
Rotate the log another 90 degrees. As on the previous two sides, you’ll want to begin with a slab. However, to minimize waste you’ll want to measure the height of the log off the deck, then determine the starting height and number of cuts you can make to minimize waste. In doing so, don’t forget to calculate for the saw’s kerf, or thickness of the saw blade (see image 3).
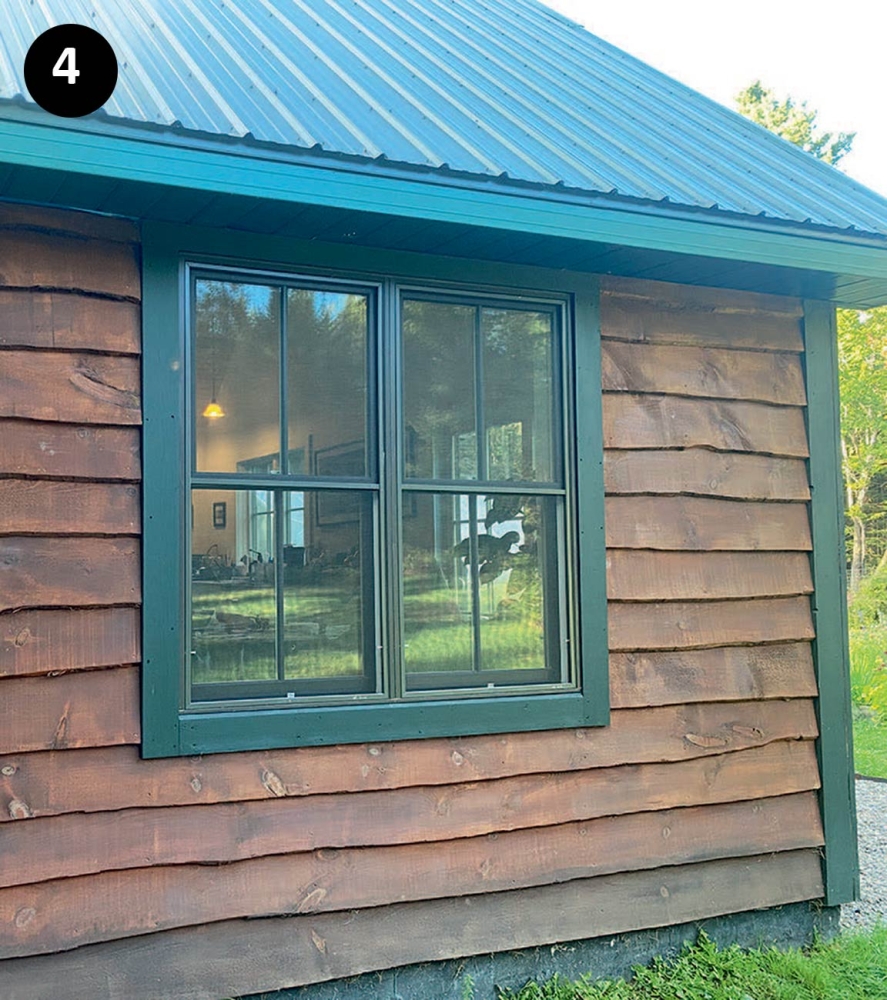
Stack and sticker the clapboards to air dry. If you do this in summer, three months is generally sufficient, as the siding is only 5/8 of an inch thick. Minimize warping by placing cinder blocks or other weights on top of your brainstorm stack. Once dry, stain and hang the siding, working off the top edge and moving up in even increments (8 inches are recommended). The result is a rustic aesthetic that’s both economical and durable (see image 4).